
Expanding I.R.I.S – DefOp
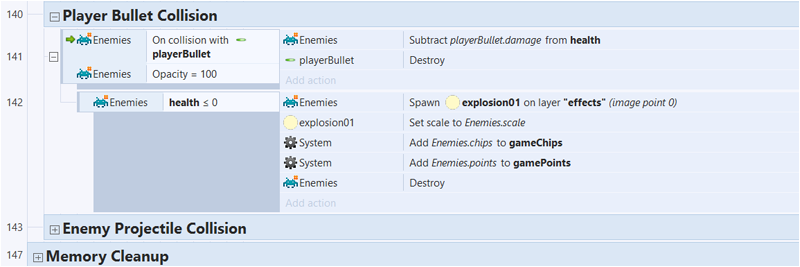
For the past week I have been working on bringing new updates for this game. Unfortunately, I coded the game in such a terrible way that it was impossible to add new things without revamping most of the original source code. The poor coding comes as a no surprise considering the game’s code was based on a top-down shooter prototype I made back in 2015. My philosophy at the time was “As long as it works … heck care”.
I spend the last couple of days cleaning and optimizing as much as I can but from the looks of it, it’s still going to take a while. I need to learn how to code in such a way that I can easily expand the game without breaking other parts. To do that, I will either play around with the codes for Ninjas Don’t Fall or start fresh with an entirely new game.
Ninjas Don’t Fall
The game at its current stage does feel kinda boring in my opinion. I do have a couple of ideas in mind on how to make the game a bit more challenging. Will get to that once I solve the problems mentioned above.
Futuristic 2D Sprite Kit
I recently released my very first sprite kit over at GameDevMarket, Itch.io and Scirra Market. It’s similar to the ones seen in I.R.I.S – DefOp but with more parts, including some that have not been used in the game. Do check it out if you are thinking of making 2D futuristic style games. By the way, more parts will be added soon to this kit. Been drafting quite a number of designs on paper.
More Sprites
There are plans on releasing new sprites in the coming future. Nothing is concrete at the moment but I’m leaning towards a pirate theme. Will see how it goes.